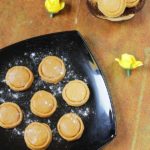
As we are rolling in to Festival month that is October, kind of anxiety, keenness and longing wraps me up. Like all the wonderful bloggers around, my anxiety is towards making some easy, fool-proof sweets and snacks. And surprisingly this year I am starting with most easiest sweets among all. That is Khoya peda. Things I love about this recipe is, it needs only two primary ingredients. I believe its a glorious way of satisfying your sweet addiction with pretty minimal effort. You know, I am all about good food / minimal effort combo. (Remember milk peda?)
How are you guys feeling right now about your Diwali celebration? Perhaps, I might me asking this question quite early. Because you are still in the mood of Dasara and winding it up today, the last day. Isn’t it? As a blogger I need to do things lot early than you guys think so that I can present them to you ON time. In addition, I can see you guys bookmarking, scribbling the recipes for upcoming festival. So I am making your work lot easier this year through videos. Stay tuned.
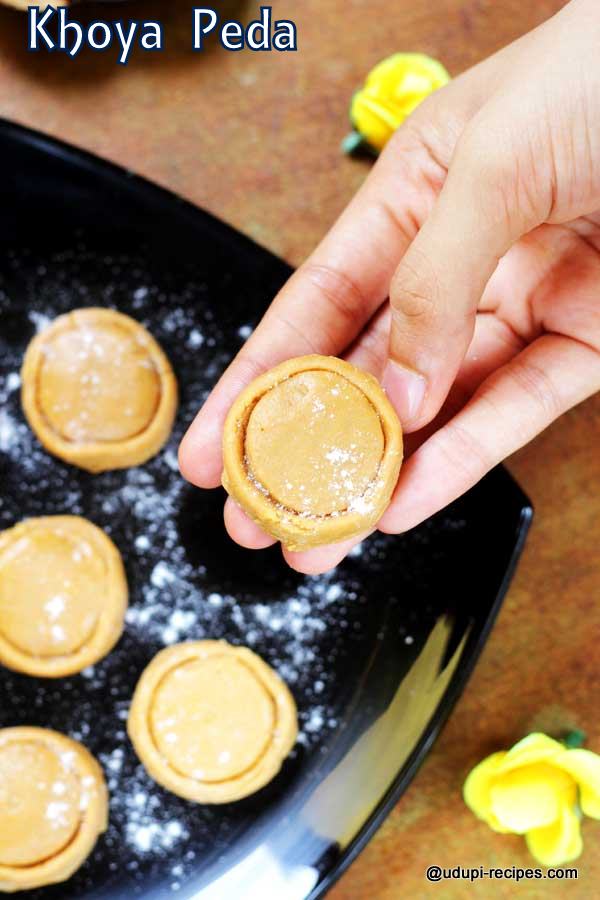
Watch the video:
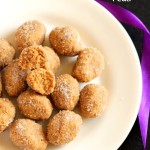
Khoya peda primarily has khoya and sugar. In case, if you need you can use little milk. Suppose you keep your khoya in refrigerator, bring it out. Let it cool down to room temperature. Crumble it down along with sugar. When you cook this mixture in medium flame, it passes through three stages. Like liquid state to thick to color change. It’s quite crucial to switch off when khoya changes color. Off the flame, you can check whether you can shape like a ball or not.
As the mixture cools down, it hardens. So if you feel it’s tough to shape them in to peda, add little milk. And making these brown beauties would be cake walk. Make them, store them for more than a week and you would never know when they are cleared off.
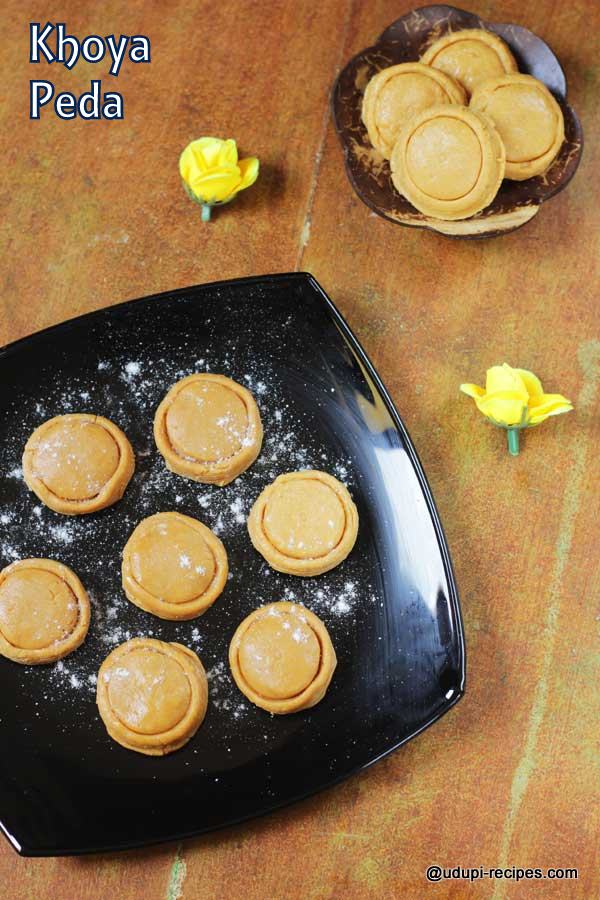
Quick Khoya Peda | Mawa Peda Recipe
Ingredients
- Khoya / mawa- 1 cup
- Sugar- 3/4 cup
- Milk - 1 tsp
Instructions
Method
- If you have kept khoya in refrigerator bring it to room temperature and in a wide tray crumble it well. Add sugar and mix together with your fingers.

- Take this mixture of khoya and sugar in a cooking pan. With constant stirring cook it in medium flame. It dissolves and becomes thin, liquid consistency. Continue cooking.

- As you cook further for few more minutes, the color changes to darker shade. And you can form ball out of it. Transfer this over a plate and let it cool down. If it is more hard to shape, then add milk.

- Combine milk well and take a lemon sized peda mix in your hand. Give it shape like a ball.

- Flatten it like peda and using any lid, give uniform shape. You can even use a fork to make some lines over the peda that looks good texturewise.

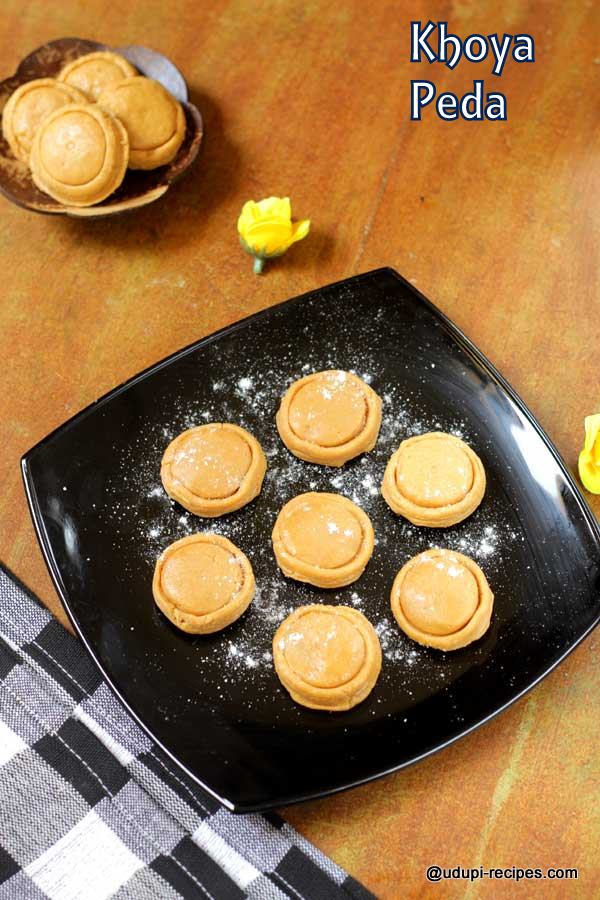
- Continue this process till you are done with all. Very easy khoya peda is ready in 30 minutes.
Notes
- Do not leave the pan unattended once you begin cooking khoya. Because there are more chances of getting the bottom burnt easily.
- The khoya becomes like liquid and then thickens as gets cooked.
- When the color changes towards brown, it's the indication to switch off.
- As the mixture cools down, it hardens. In case it is soft enough to shape, then you can skip adding milk.
- You can store them for more than a week.
