I am excited…I am proud….and I am happy. Guess why?
I have reached second milestone in the journey of food blogging and pressed down PUBLISH button for 199 times now. You guessed it right, this is 200th post on udupi-recipes.com. This fantastic journey started back in 2012 July when a full time employee is thrown as home maker in the desert land UAE. Being a home maker with two kids, concept of food blog struck my mind just like that. Surfing for new recipes, attempting and devouring them was my spare time activity till then, I had seen many food blogs, so it was right time to start my own.
Building and growing a blog is lot of work, there were countless failures and frustrations along the way. It’s a constant battle that needs to be fought daily. Some times I win and some times I don’t. The key is I need to continually push back against it. If you stick on to this strategy, then it is definitely possible to build a blog in to business. YES IT IS.
IT’S BECAUSE OF YOU
I am deeply grateful to you who come to my blog to read the posts and make the recipes. This space exists because of you, who walk along with me all the way. I am thankful to you ALL.
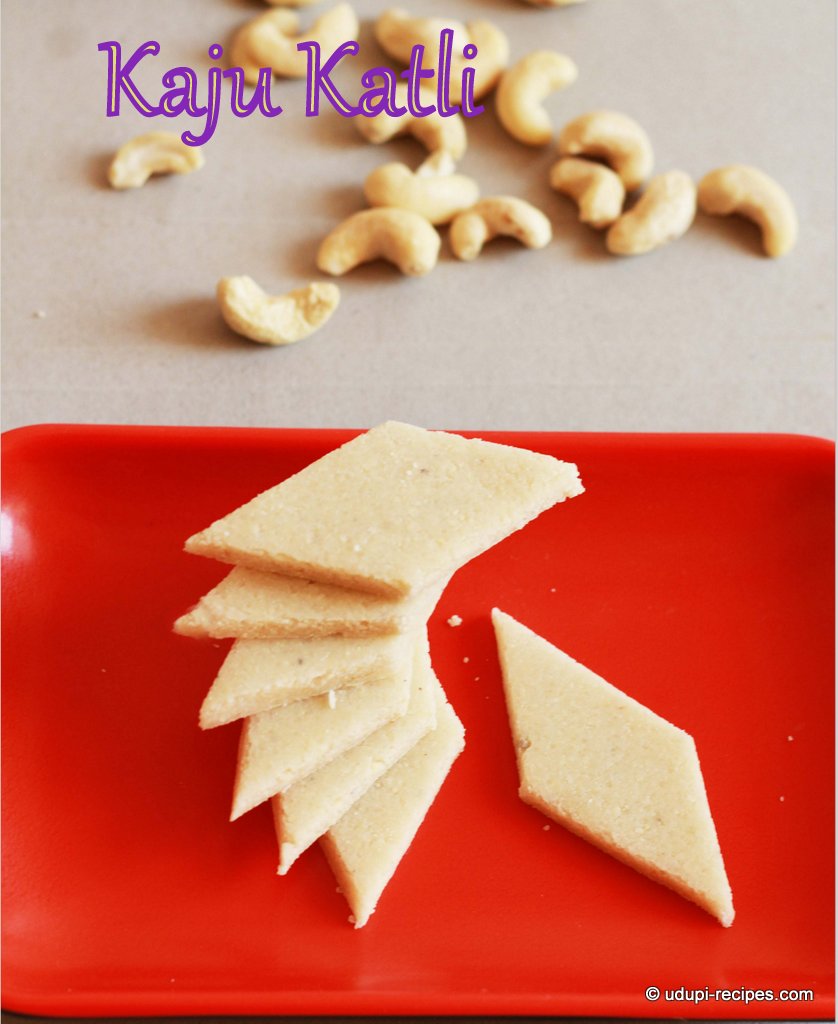
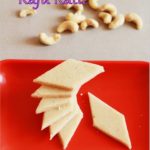
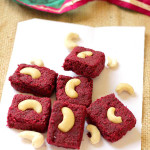
It’s an occasion to celebrate right guys?? Celebration always demands some sweet condiments…How about Kaju Katli?? A burfi prepared using just two ingredients (sugar and cashew) with melt in mouth texture is a perfect sweet for any celebration. I am sharing the joy of 200th post with these beautiful diamond shaped treats. Making of kaju katli is simple and can be explained in two instructions. LIKE THIS: Powder cashews and mix with sugar syrup. Then roll and cut in to shapes. Easy said than done right? I KNOW.
I have explained the kaju katli recipe with all DO’s and Don’ts, how to troubleshoot in case of disaster and made it to look foolproof even for beginners. If you carefully read, follow all the notes and instructions I bet you end up with addictive sweet that anyone can drool over.
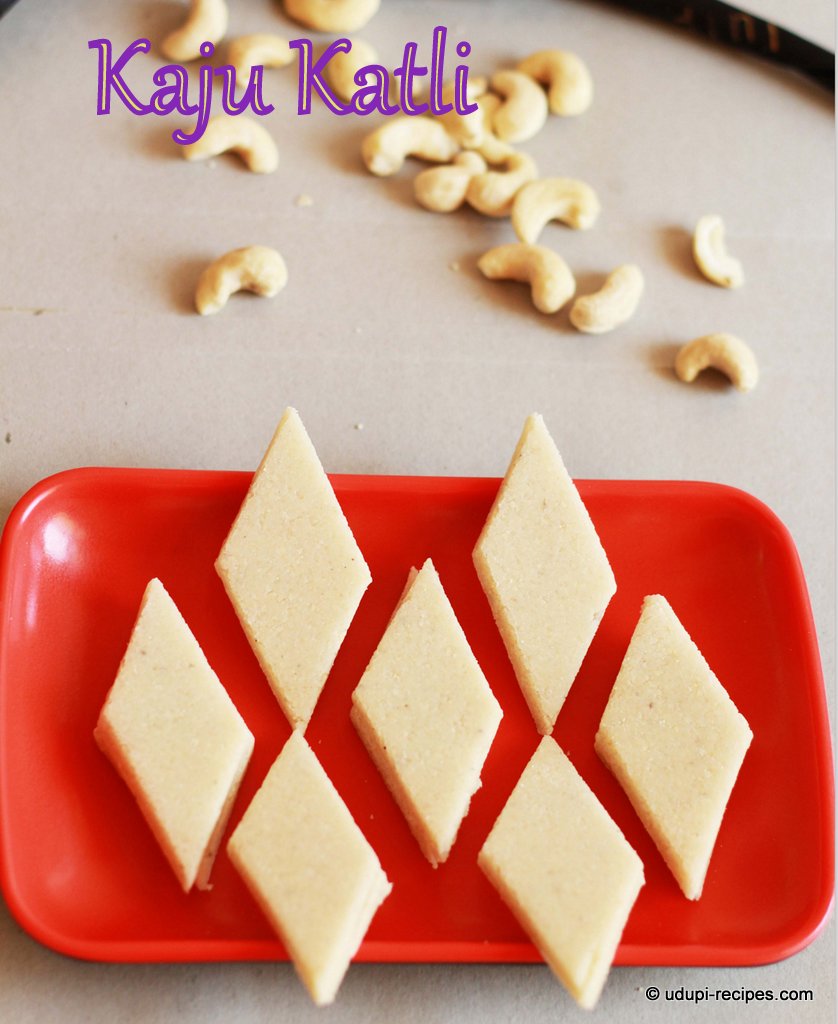
Kaju Katli Recipe | Cashew Burfi Recipe
Ingredients
- Cashews Kaju- 1/2 cup
- Sugar- 1/2 cup
- Cardamom powder- 1/2 tsp
- Water- 6 tsp
Instructions
Method
- Ensure the mixer jar is completely dry and add cashews in to it. Grind them to fine powder. I usually keep cashews at room temperature. So the cashews were dry. Do not use refrigerated cashews. I ran the mixer for around 15 seconds at a stretch and obtained little grainy powder though.
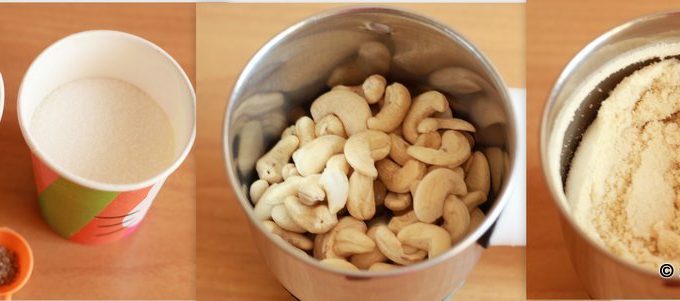
- Heat a wok or pan adding sugar, cardamom powder and 6 tsp of water. In low flame keep stirring till the sugar dissolves in water.

- Ensure the sugar is dissolved completely and bring it to rapid boil. Switch off the flame. Immediately add cashew powder. Mix well breaking the lumps with ladle.
- Reheat the same wok in low flame and keep stirring the cashew-sugar mix till it thickens, comes together and forms smooth dough. Switch off the flame and transfer the dough on to a plate or flat surface.

- When the dough is still warm, when your hands can bear the temperature start kneading it. As you knead the dough the grainy texture changes to smooth. You can add little ghee to the dough for nice smooth texture. Also you can apply some ghee to your palm while kneading to bear the heat.
- Now flatten the dough on large butter paper using rolling pin. You can roll it to desired thickness. The dough should be warm while rolling otherwise it will harden and you cannot roll.

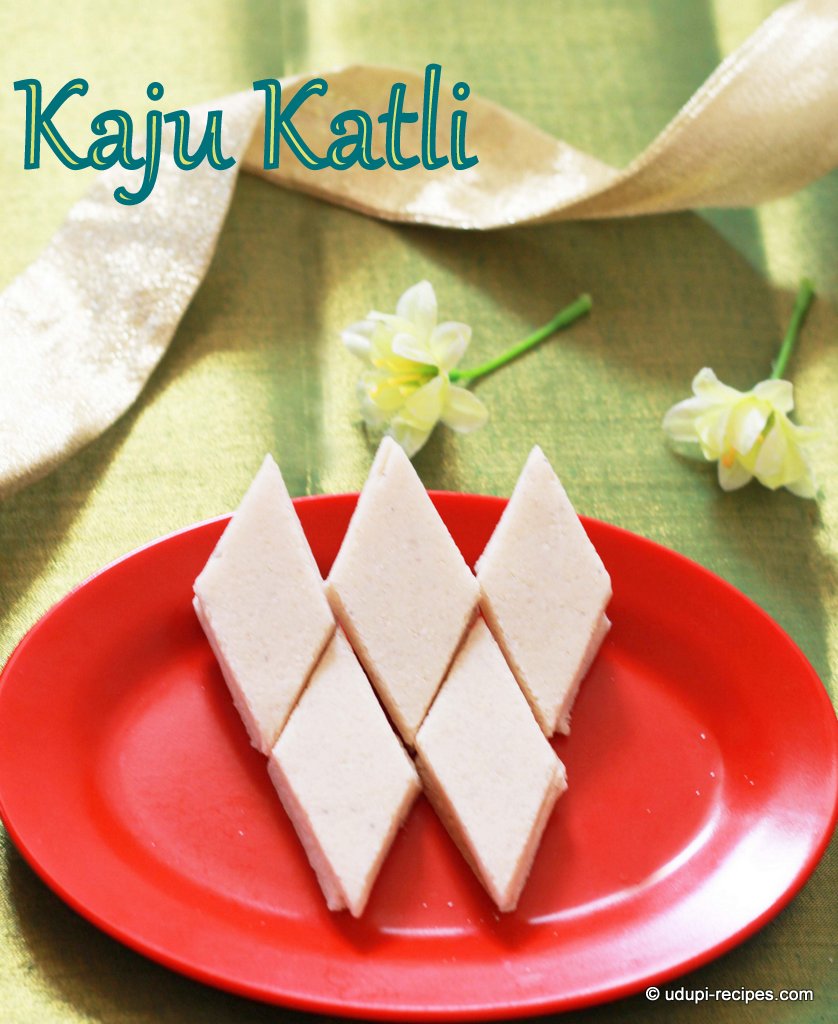
- Using sharp knife or pizza cutter mark diamond or square shapes and let it cool. Then separate the pieces, serve them immediately or store in airtight container.
Notes
- Do not over-grind the cashews because they ooze out oil and it becomes paste. We need cashew powder not cashew paste. It's OK if the cashew powder is little grainy.
- If you add too much water to sugar, after adding cashew powder the mixture will not thicken and come together as dough.
- As you include the cashew powder in to sugar syrup, you can do mixing and breaking the lumps in low flame too. I was extra cautious, so did it off the stove.
- As the cashew dough thickens and ready to transfer, do not scrape the edges to include them in to dough.
- Properly kneading the dough when it is still warm is very important step to obtain smooth textured kaju katli.
- If you cannot knead the dough or dough crumbles, then add some milk. Milk helps in kneading and rolling. But shelf life of kaju katli is reduced.
- The whole process took around 25 to 30 minutes for me, which may vary according your pan, temperature etc.
- Normal shelf life of kaju katli can be extended to a week at room temperature.





Hello Sumana,
Hearty Congratulations on your achievement..Wishing gr8 success to your food blog & All the very best for the future
Thank you very much. I owe my success to you all readers, It’s because of you.